2022. 7. 6. 21:09ㆍ개발
1. VS Code 설치
https://code.visualstudio.com/
Visual Studio Code - Code Editing. Redefined
Visual Studio Code is a code editor redefined and optimized for building and debugging modern web and cloud applications. Visual Studio Code is free and available on your favorite platform - Linux, macOS, and Windows.
code.visualstudio.com

1)VSCodeUserSetup.exe 실행 후 다운로드
2. git 설치
1) https://git-scm.com/ 접속
Git - Downloading Package
Download for Windows Click here to download the latest (2.37.0) 32-bit version of Git for Windows. This is the most recent maintained build. It was released 8 days ago, on 2022-06-27. Other Git for Windows downloads Standalone Installer 32-bit Git for Wind
git-scm.com
2) Download for Windows 선택
3) 64bit Git for Windows Setup 선택
4) Use Visual Studio Code as Git's default editor 선택
5) Install
3. git Bash 실행
1) git 입력
2) 우측 사진 처럼 나오면 "설치 완료"
1. GitHub 저장소 생성
1) Create repository 선택
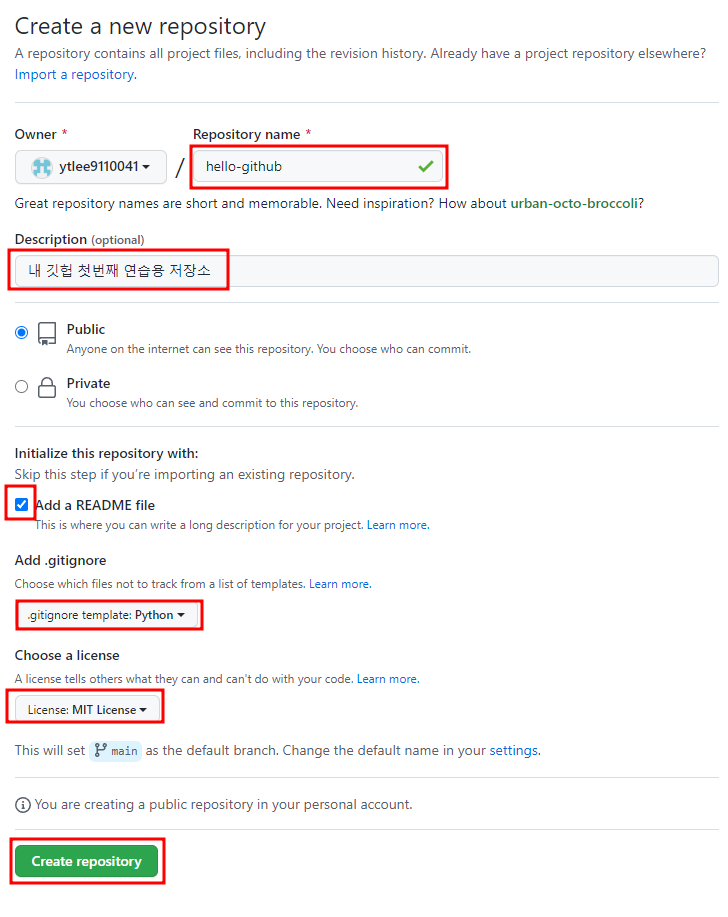
2) 위 사진처럼 선택
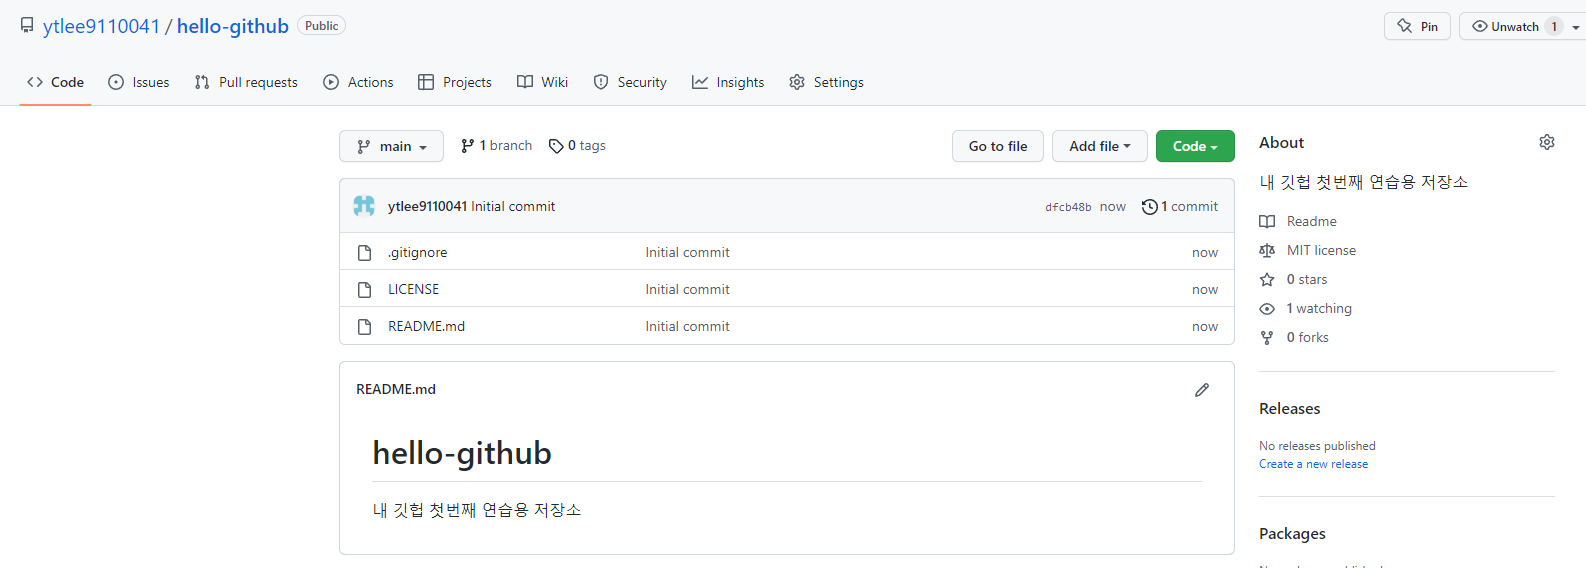
3) 저장소 생성 완료
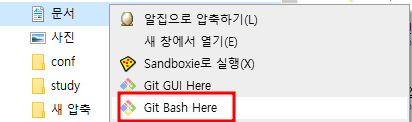
4) Git Bash Here 선택
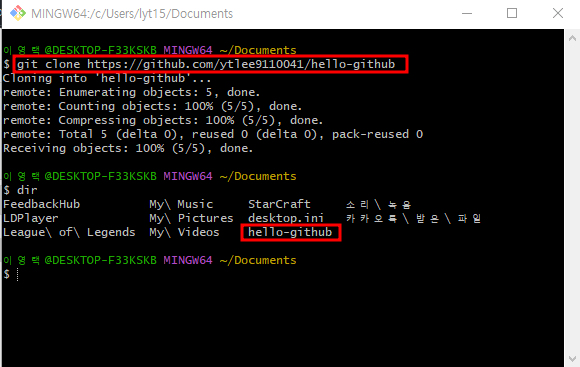
5) git clone 'git주소입력'
6) cd hello-github
7) dir (ll)
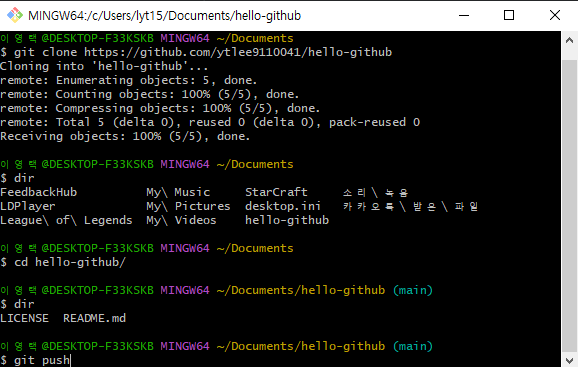
8) git push
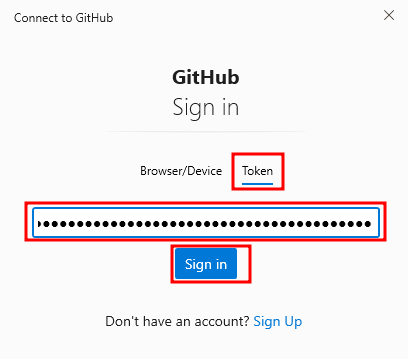
9) Token 선택 후 Sign in
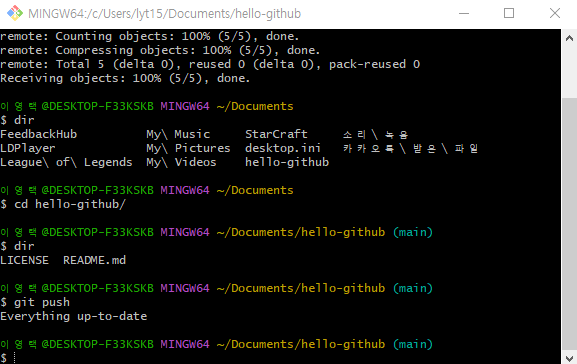
10) 성공
'개발' 카테고리의 다른 글
| 4. 이클립스 프로젝트 > GitHub 올리기 (0) | 2022.07.06 |
|---|---|
| 3. Sourcetree 설정 및 계정 설정 (0) | 2022.07.06 |
| 1. GitHub 가입, Token 생성 (0) | 2022.07.06 |
| 한글 유니코드 변환기 (0) | 2022.07.04 |
| Swagger note (0) | 2022.06.30 |